A smartphone camera is often the first tool grabbed when a leak appears or a renovation begins. However, a disorganized gallery of hundreds of unlabelled images can quickly become a liability rather than an asset, especially when you are balancing a busy schedule of professional obligations and household management.
The Architecture of a Digital Folder
Effective documentation relies on a structure that anyone—from a spouse to a hired contractor—can navigate without a map. Rather than letting photos sit in a single, chronological stream, create a dedicated project folder. Within that folder, establish sub-folders organized by specific rooms or zones of the property. For example, instead of one folder titled "Kitchen Remodel," use sub-folders labeled "Kitchen-Plumbing," "Kitchen-Electrical," and "Kitchen-Flooring."
Adding a date stamp to the folder or file names provides a temporal anchor. This allows you to track the progression of work over weeks or months, ensuring you can pinpoint exactly when a specific observation was made. When you are managing both office deadlines and home improvements, this clarity prevents the mental fatigue of searching for "that one photo of the wall from last Tuesday."
Observing Without Interpreting
One of the most critical distinctions in project documentation is the difference between what you see and what you assume. Your photographs should serve as objective evidence. A photo should capture the visible reality: a hairline crack in a baseboard, a discolored patch on a ceiling, or the specific way a pipe enters a floor.
Avoid the temptation to include text overlays or mental notes that attempt to diagnose the issue within the image itself. If you see a damp spot, photograph the spot, not your theory about why it is there. Keep your interpretations—the "why" and the "how to fix it"—in a separate digital note or a physical planning log. This keeps your visual record clean and prevents confusion if you later need to show the images to a specialist to ask, "What is causing this specific discoloration?"
Managing the Tradeoffs of Detail
There is a constant tension between taking a single wide-angle shot of a room and capturing dozens of close-up details. A wide shot provides context, showing where a problem sits in relation to windows, doors, or furniture. A close-up provides the granular detail necessary for assessing texture or scale.
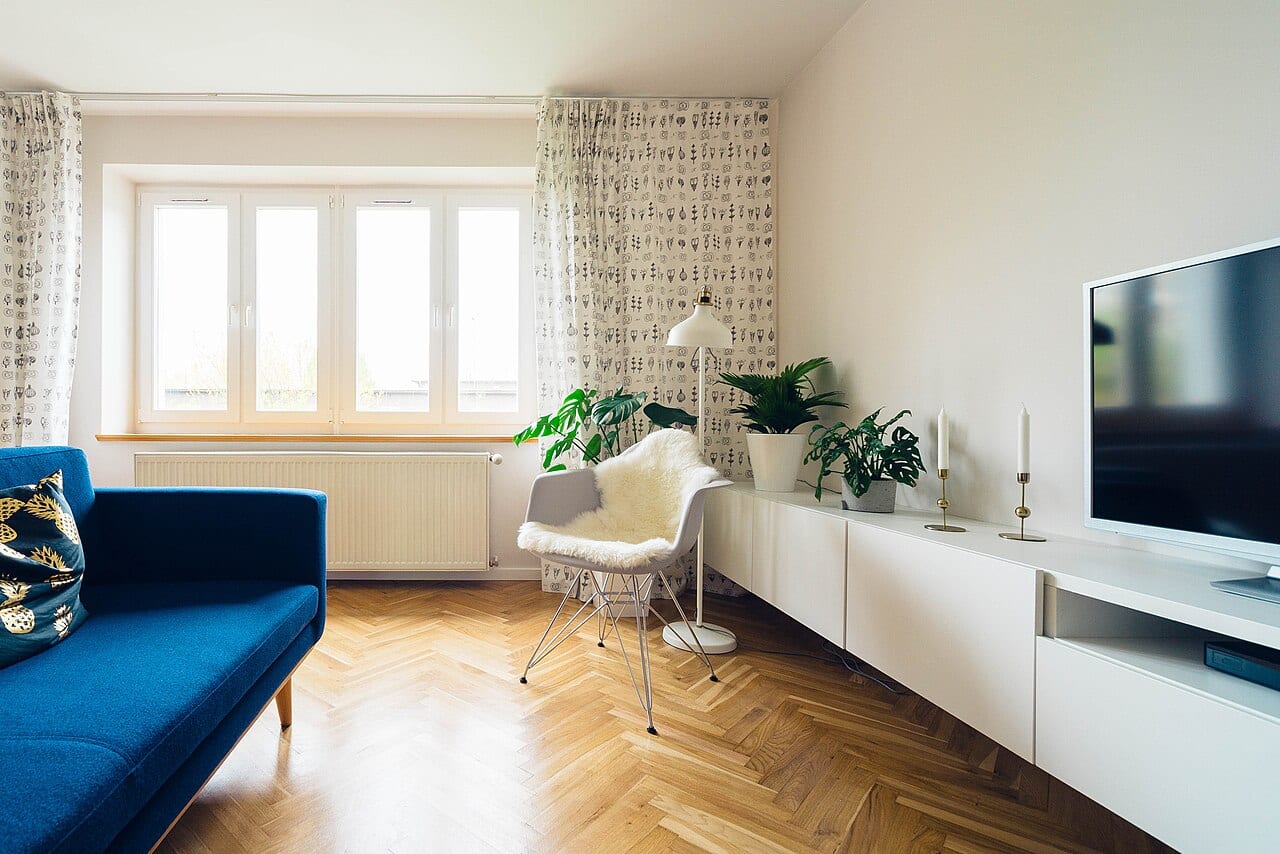
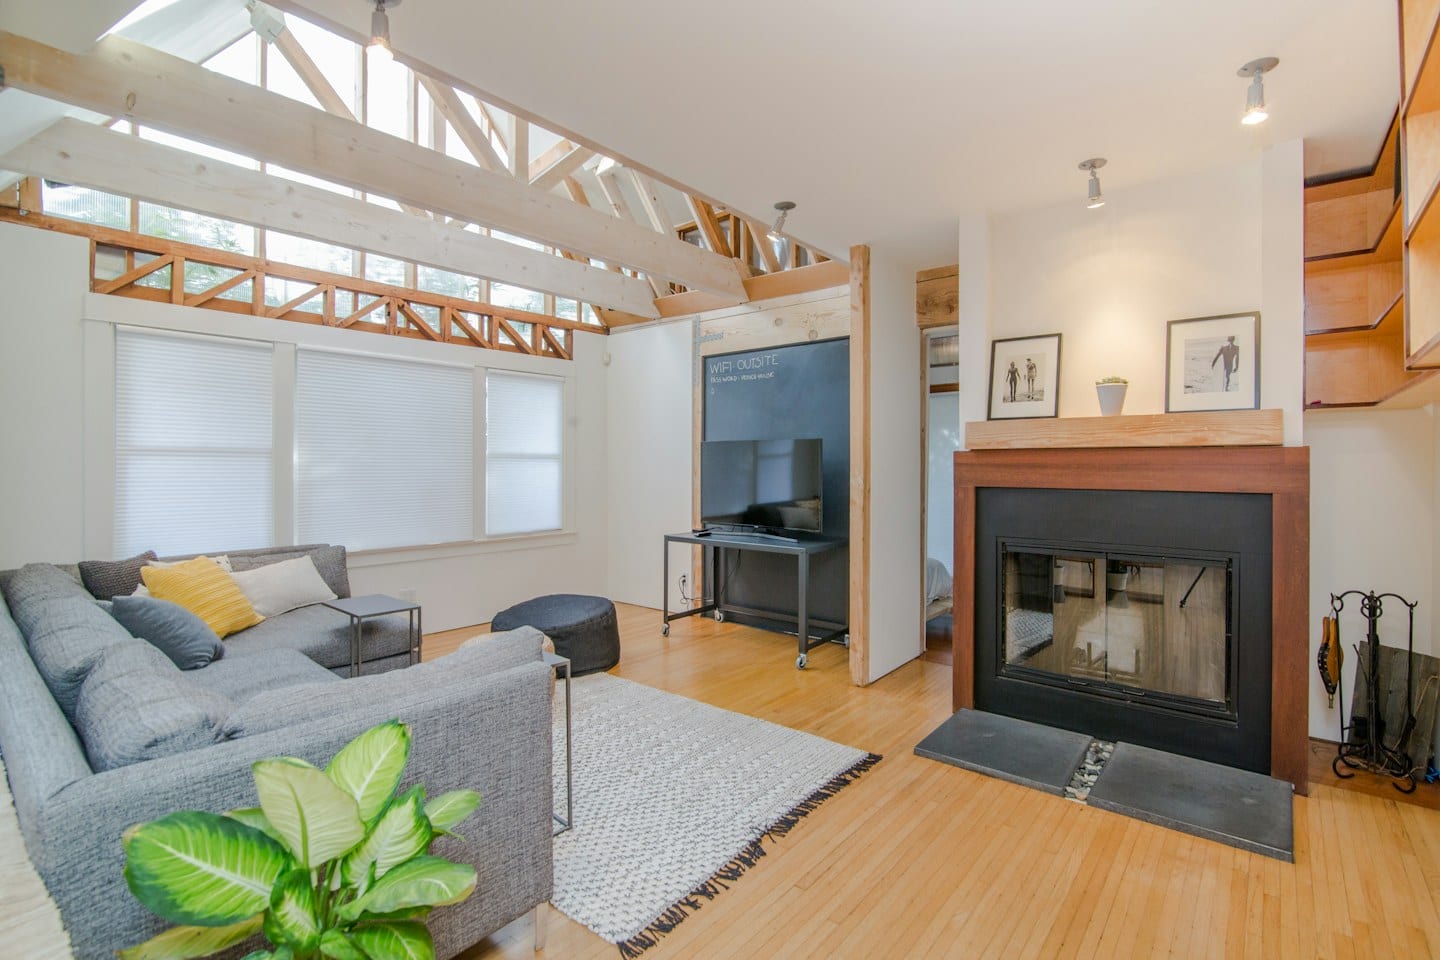
For example, if you are preparing for a flooring update, a wide shot shows the layout of the entire living area, while a close-up shows the gap between the wood and the transition strip. If you only take the wide shots, you may lack the detail needed for a precise quote; if you only take close-ups, you may lose the sense of scale. Aim for a balanced sequence: start wide, move to medium shots, and finish with the macro details.
Once your visual archive is organized, use it to facilitate better communication. When a professional arrives, you can quickly pull up the "Bedroom-Ceiling" folder to show the progression of a concern. By maintaining a disciplined, objective, and structured photographic record, you turn a chaotic collection of snapshots into a functional tool for managing your home.